

Create an account
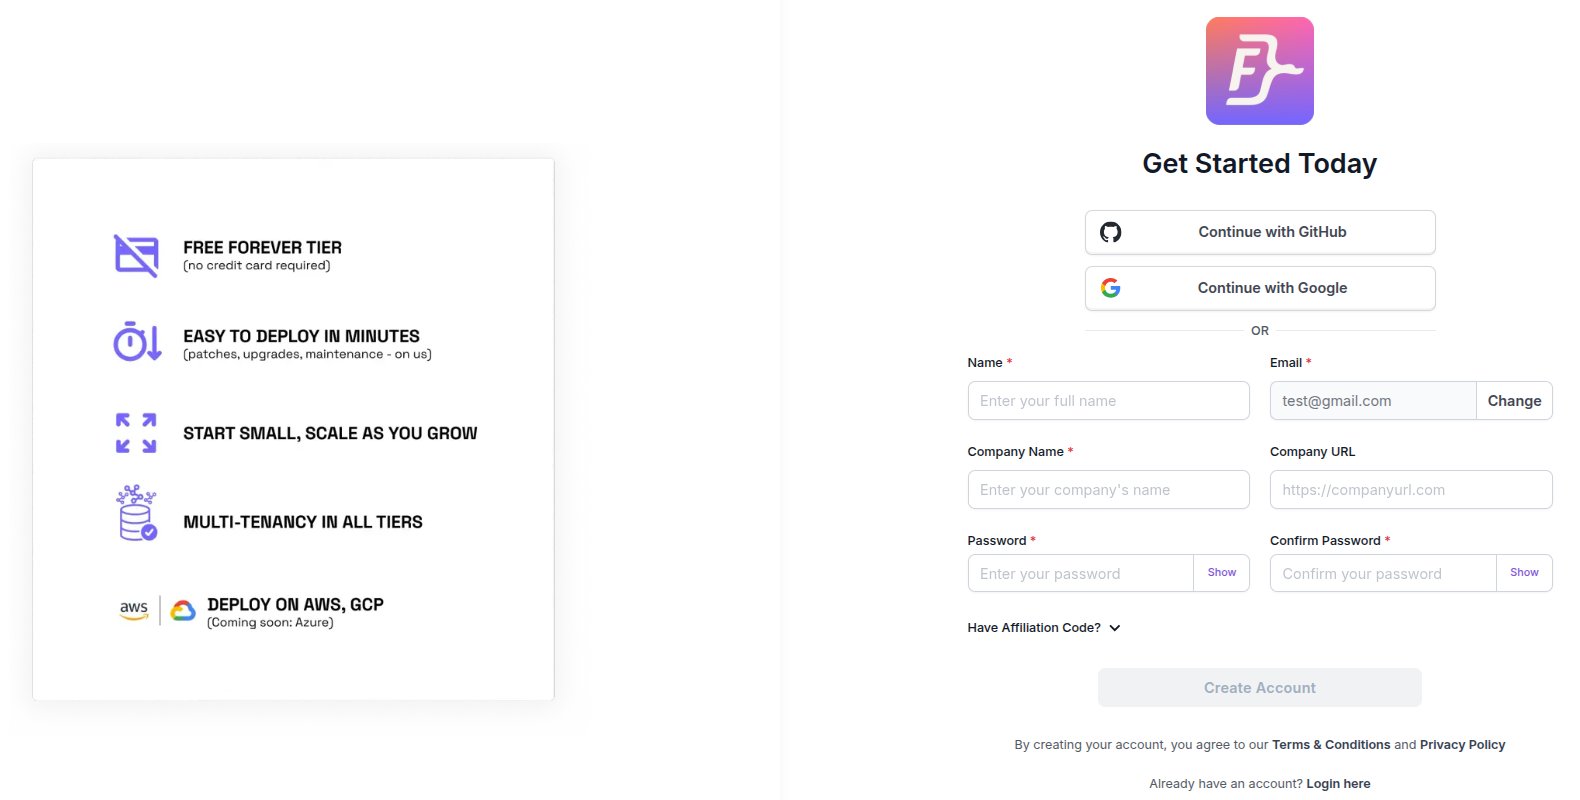
- Go to app.falkordb.cloud/signup.
- Enter your work email and select Next.
- Sign up with Continue with GitHub or Continue with Google, or fill in the form:
- Name
- Company Name
- Company URL (optional)
- Password and Confirm Password
- Select Create Account.
Verify your email
If you signed up with a password, FalkorDB Cloud sends a confirmation link to your email. Open the link to activate your account. You see Validation Successful when the account is active, and you can then sign in. Sign-ups with single sign-on don’t need this step.Sign in
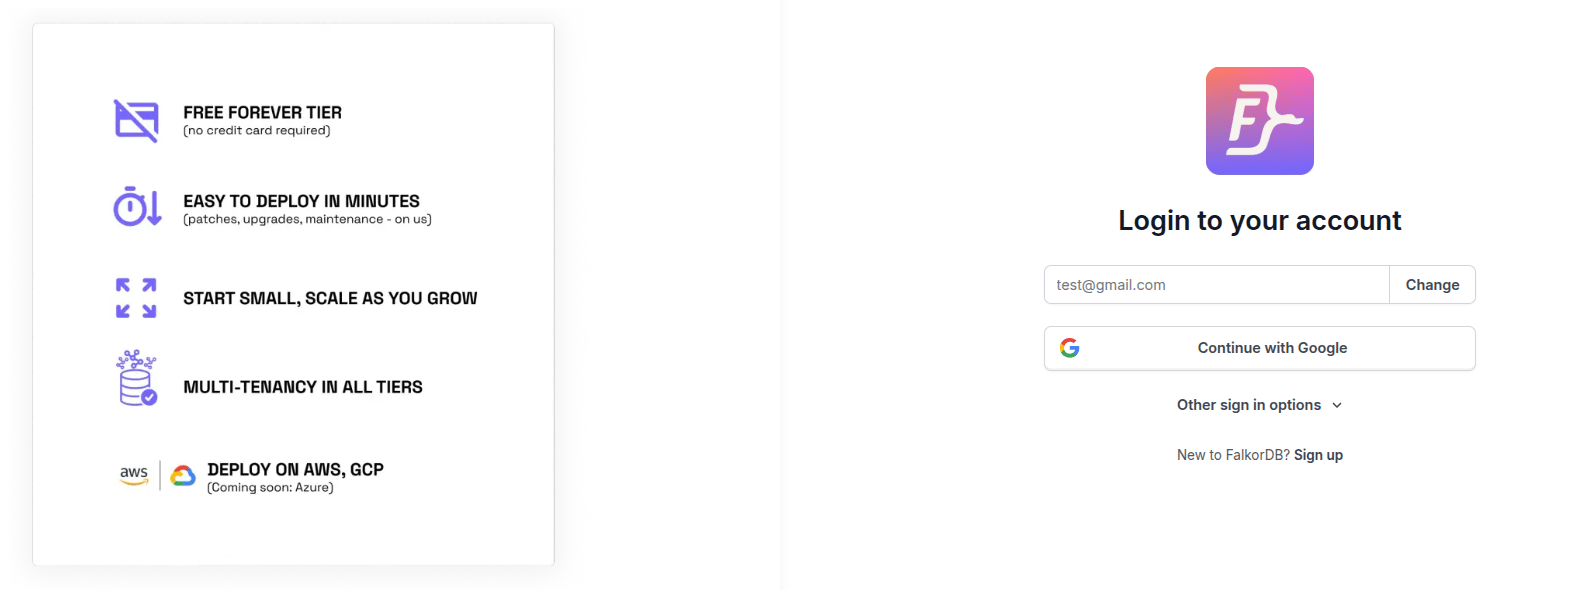
- Go to app.falkordb.cloud/signin.
- Enter your email and select Next.
- Choose a single sign-on button, such as Continue with Google. To use a password, open Other sign in options and select Sign In with Password.
Subscribe to a plan
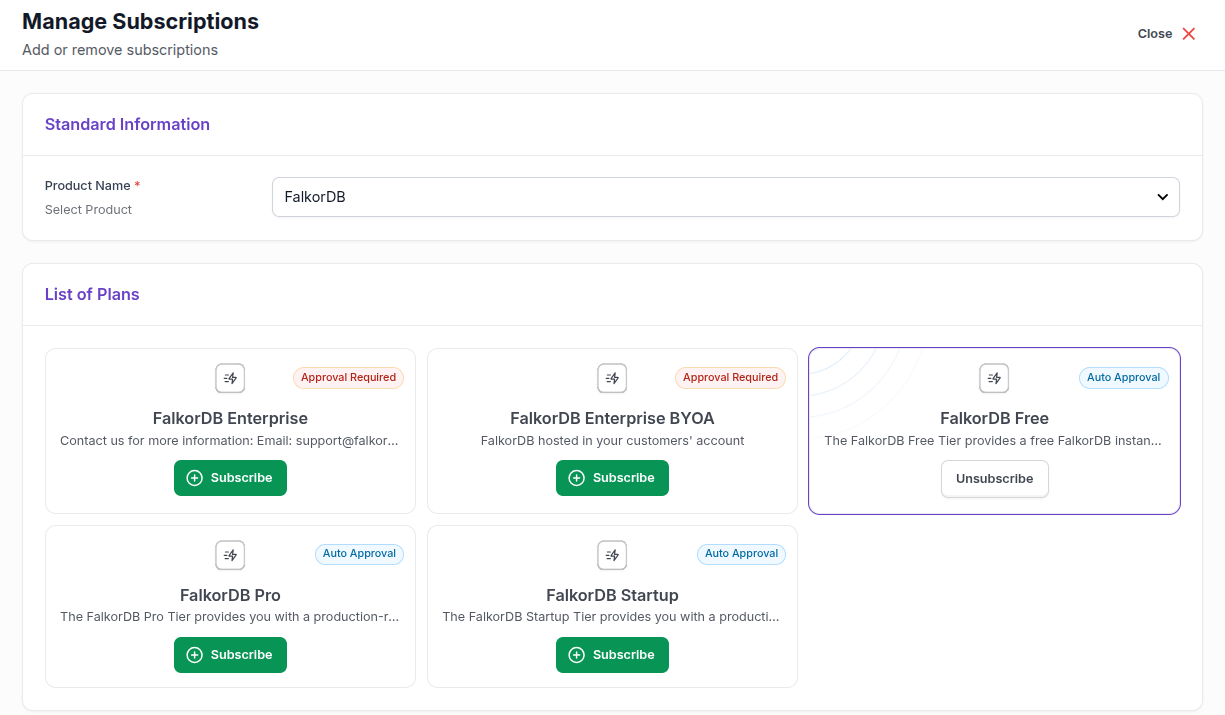
- In the sidebar, open Account Management > Subscriptions.
- Select Manage Subscriptions.
- Under List of Plans, find the tier you want and select Subscribe.
Paid tiers need a payment method before instances can run, unless your billing is arranged by contract, as it often is for Enterprise. See Add a payment method. The Free tier doesn’t need one.
Invite your team
Subscriptions are shared through roles:
To invite someone:
- In the sidebar, open Governance Hub > Access Control.
- Under Invite Users, enter their email and choose the Product, Subscription Plan, and Role (Admin, Editor, or Reader).
- Select Send Invites. Use Add Another to invite several people at once.
Unsubscribe
First delete every instance in the subscription; unsubscribing fails while any are left. Then, on the Subscriptions page, select the subscription, choose Unsubscribe, and typeunsubscribe to confirm. Only a Root or Admin user can unsubscribe, and you can’t remove your default subscription.
Frequently asked questions
Do I need a credit card to sign up?
Do I need a credit card to sign up?
No. You can create an account and use the Free tier without a payment method. Add one only when you subscribe to a paid tier.
Why is my subscription pending?
Why is my subscription pending?
The Enterprise and Enterprise BYOA plans need approval from the FalkorDB team. The plan shows Pending Approval until then. Contact support@falkordb.com if it stays pending.
Can I subscribe to more than one tier?
Can I subscribe to more than one tier?
Yes. Each tier is a separate subscription, and you choose which one to use each time you create an instance.